How to Make a Candle at Home
How to Make a Candle at Home: A Step-by-Step Guide
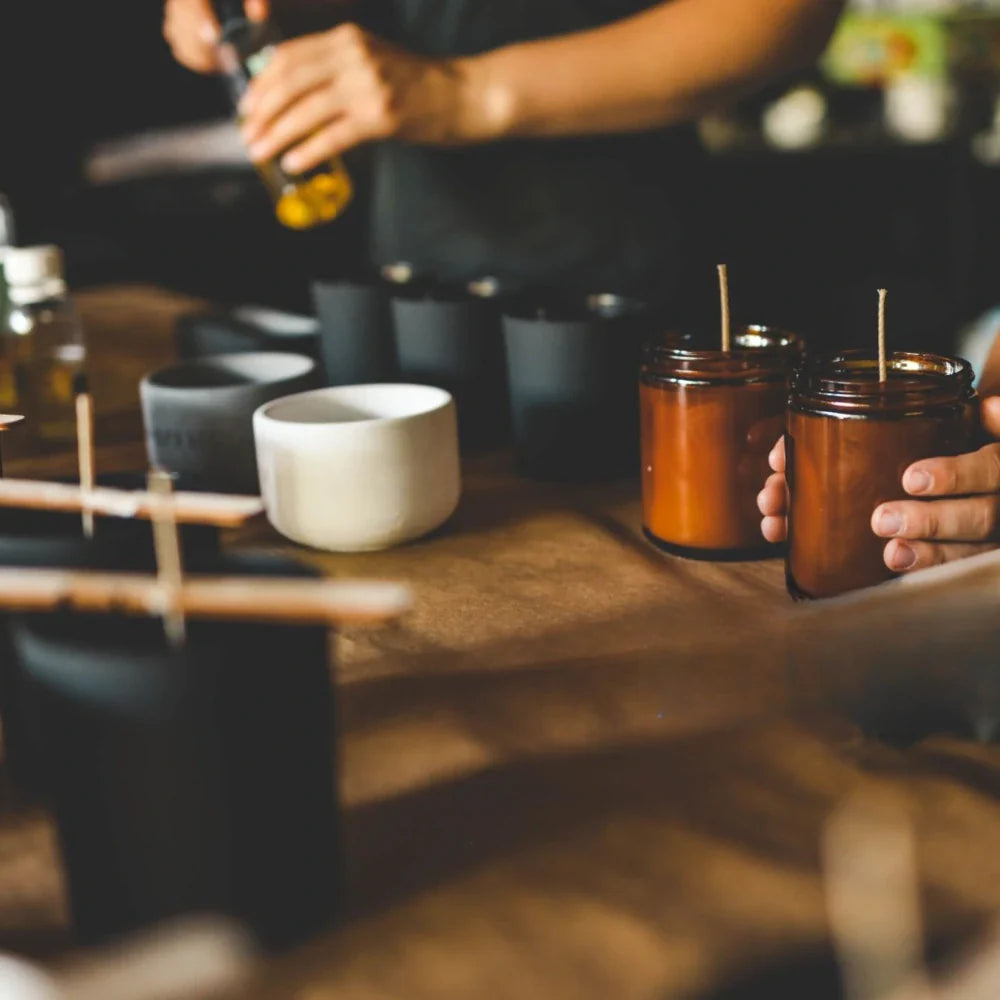
Making candles at home can be a fun, creative, and relaxing project, whether you’re crafting them for yourself, as gifts, or for a business venture. Homemade candles are also a great way to infuse your home with personalized scents and styles. Whether you’re a complete beginner or someone looking to refine your candle-making skills, this simple guide will walk you through all the steps to create beautiful, custom candles from the comfort of your home.

Materials You’ll Need
Before you get started, gather the following supplies:
- Wax: The base of your candle. There are various types, each with its own properties:
- Soy Wax: A popular choice for beginners. It burns cleanly and is easy to work with.
- Beeswax: Natural and eco-friendly, beeswax burns longer and emits a pleasant honey scent.
- Paraffin Wax: Commonly used in commercial candles; it's affordable but not as eco-friendly.
- Palm Wax: A more sustainable choice, but it can be harder to work with.
- Wicks: Wicks come in different sizes and materials. Cotton, wooden, and hemp wicks are common options. Be sure to choose a wick that is appropriate for the size of your container or mould.
- Fragrance Oils: If you want your candle to have a scent, you'll need fragrance oils. Make sure the oils are specifically designed for candle making.
- Dye (Optional): If you’d like your candles to have colour, you can use candle dye in liquid or block form. Just be cautious not to use regular crayons as a substitute; they can create unwanted residue.
- Containers or Molds: You can use glass jars, metal tins, ceramic bowls, or silicone moulds. For beginners, jars are an easy and popular choice.
- Double Boiler or Microwave-safe Container: For melting the wax.
- Thermometer: This is essential to ensure you’re pouring the wax at the right temperature to avoid cracks or discoloration.
- Stirring Utensil: A spoon or spatula to mix in the fragrance and dye.
- Wick Holder: This could be a pencil, skewer, or wick holder to keep the wick centred while the wax hardens.
- Pouring Pitcher (Optional): A pitcher for easy pouring when the wax is melted.

Step 1: Prepare Your Work Area
Candle making can get a little messy, so it’s a good idea to cover your work area with newspaper or disposable tablecloths. Have all your materials ready to go, and be sure to work in a well-ventilated space.
Step 2: Measure the Wax
The general rule of thumb is that you’ll need about 1.5 times the volume of your container in wax. For example, if you’re making a candle for a 6 oz jar, you’ll need around 9 oz of wax. It’s always better to have a little extra wax than not enough.
Step 3: Melt the Wax
Now, it’s time to melt the wax. There are two common methods for melting wax:
- Double Boiler Method:
- Fill a large pot with water and place it on the stove.
- Put your wax in a smaller, heat-safe container (like a pouring pitcher) and place it in the larger pot. The steam from the boiling water will gently melt the wax without overheating it.
- Stir occasionally with a spatula or spoon until the wax is fully melted.
- Microwave Method:
- Put the wax in a microwave-safe container.
- Heat in short bursts of 30 seconds, stirring in between each burst to make sure the wax melts evenly.
- Be careful not to overheat the wax as it can catch fire. Always monitor the process closely.
Step 4: Add Fragrance and Dye (Optional)
Once your wax is melted and smooth, it's time to add fragrance and colour. Here’s how:
- Fragrance: Most fragrance oils should be added at about 170°F (77°C), which is the optimal temperature for mixing without affecting the scent. The typical ratio is about 1 ounce of fragrance per pound of wax. You can adjust this based on your personal preference.
- Colour: If you want to colour your candle, you can add candle dye at the same time you add fragrance. Start with a small amount and mix until you reach your desired shade.
Stir the wax thoroughly to ensure the fragrance and dye are evenly distributed.
Step 5: Prepare the Wick
While your wax is cooling slightly, prepare your wick:
- Cut the Wick: Cut the wick to be about 2 inches longer than the height of your container or mould.
- Attach the Wick to the Bottom: To keep the wick in place, attach it to the bottom of your container using a wick sticker, hot glue, or a dab of melted wax. If you're using a mould, you can secure the wick to the bottom using a small piece of tape.
- Centre the Wick: Use a wick holder (like a pencil or skewer) to keep the wick centred at the top of the container or mould. This ensures that the wick stays in place as the wax hardens.
Step 6: Pour the Wax
Once your wax has cooled slightly to around 140-150°F (60-65°C), it’s time to pour it into your container. Here’s how:
- Pour Slowly: Slowly pour the wax into your container or mould, being careful not to disturb the wick.
- Leave Room: Leave about half an inch of space at the top of the container for a clean, finished look.
- Pour in Layers (Optional): If you're making a multi-coloured candle, you can pour the wax in layers. Let each layer cool and harden before adding the next layer.

Step 7: Let the Candle Cool
Once the wax is poured, allow the candle to cool completely. This can take a few hours. You might notice that the top surface of the candle sinks slightly as it cools. If this happens, you can reheat and pour a small amount of wax to top it off.
Step 8: Trim the Wick
After your candle has fully hardened, trim the wick to about 1/4 inch above the surface of the candle. This ensures that the wick burns evenly and prevents a large, messy flame.
Step 9: Cure the Candle (Optional)
For optimal scent throw (how well the fragrance fills the room when burning), you can let the candle cure for 24–48 hours. The longer you let it sit, the stronger the fragrance will be when burned. This is especially important for candles with a high fragrance load.
Step 10: Light and Enjoy!
Your homemade candle is now ready to use! Light it and enjoy the ambiance, fragrance, and cozy atmosphere you’ve created. Homemade candles make wonderful gifts and add a personal touch to any room.
Tips for Candle Making Success
- Experiment with Scents: Don’t be afraid to blend different fragrance oils to create your own signature scents.
- Use Quality Materials: The better the quality of your wax, wick, and fragrance, the better your candles will turn out.
- Temperature Matters: Always monitor the temperature of your wax carefully. Too hot or too cool, and you risk affecting the texture, scent, or burn quality of the candle.
- Safety First: Always keep an eye on your melting wax to prevent overheating. Never leave your candle-making process unattended.

Making candles at home is a simple, creative, and satisfying craft that anyone can try. Whether you're making candles for yourself, to gift to loved ones, or to sell, the possibilities are endless! With just a few materials and a little patience, you can create beautiful, custom candles that add warmth and ambiance to any space. So, gather your supplies, get creative with scents and colours, and enjoy the process of making your very own handmade candles!